Saved Queries
Browsing to Saved Queries
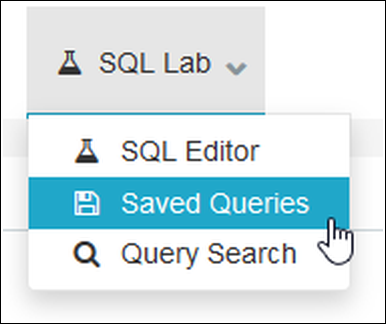
In the Toolbar, simply select SQL Lab and, in the drop-down menu, select Saved Queries.
Interface
Viewing a Saved Query
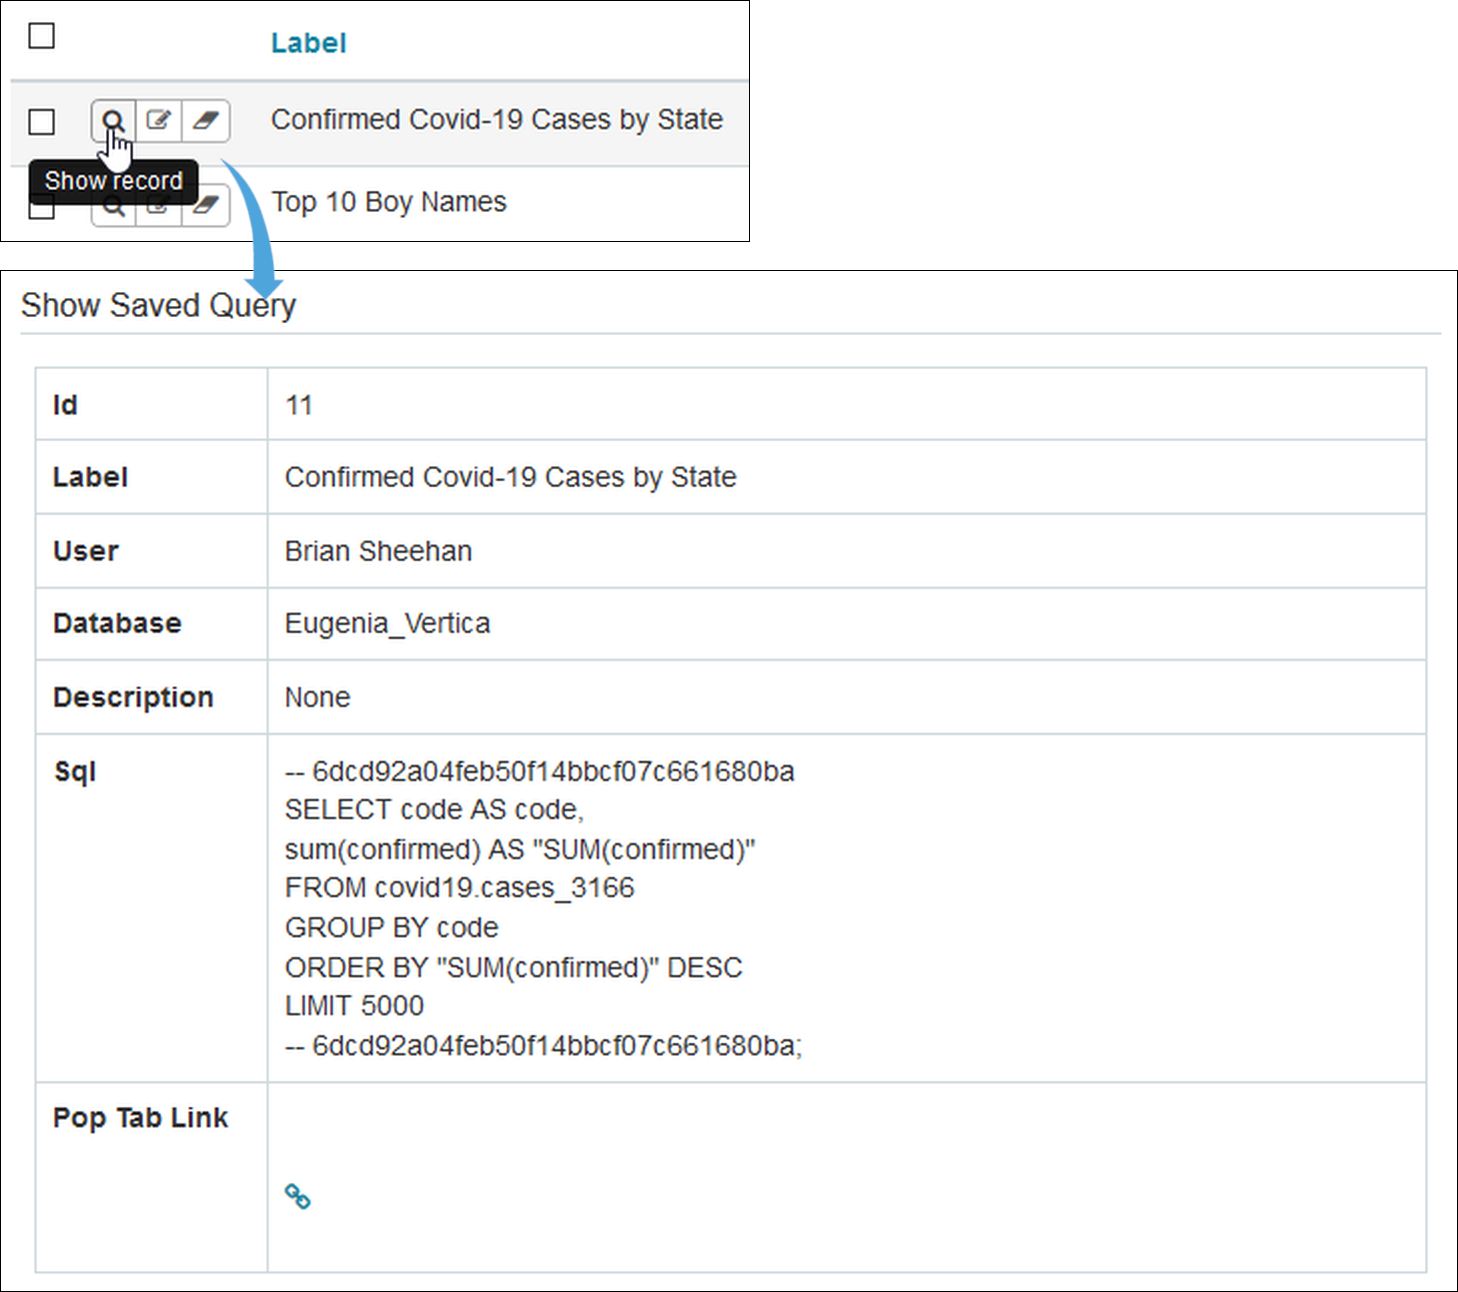
To view a saved query, select the Magnifying Glass icon for the saved query. The Show Saved Query screen will appear displaying key query data, such as label, user, SQL code, and database.
To view the query in the SQL Editor, select the link icon in the Pop Tab Link field.
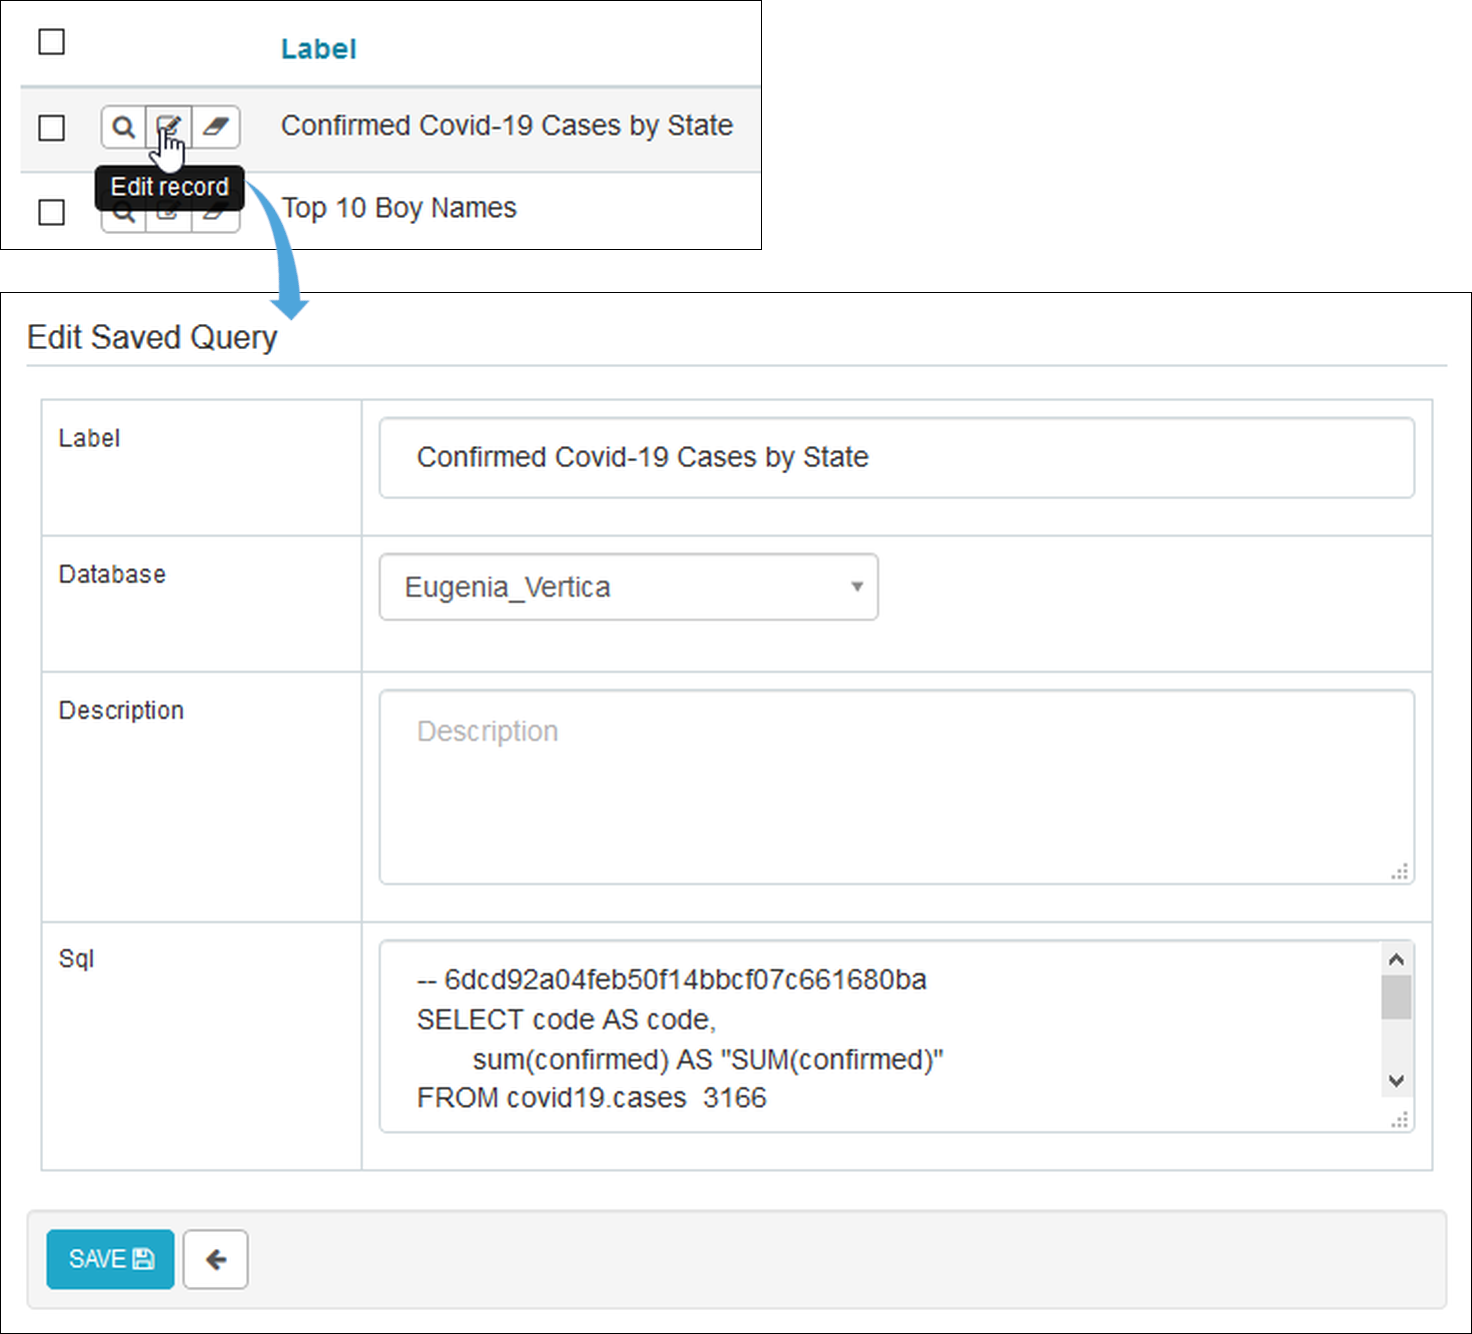
Editing a Saved Query
To edit a saved query, select the Edit icon for the saved query — the Edit Saved Query screen will appear.
Editable fields include:
- Label: The name of the saved query.
- Database: The database accessed by the query.
- Description: Text describing the saved query.
- Sql: The query's SQL code.
When done making any modifications, select SAVE.
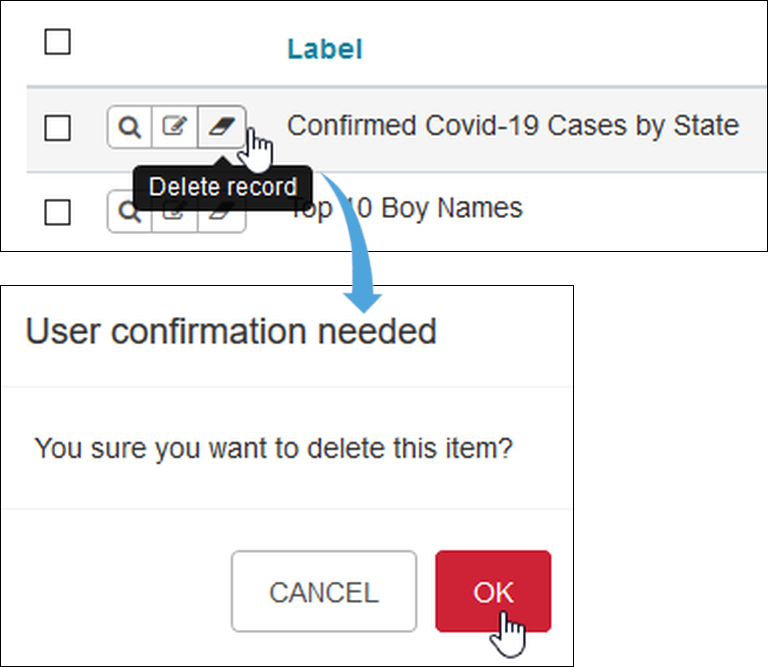
Deleting a Saved Query
To delete a saved query, select the Eraser icon for the saved query. A confirmaton message will appear — select OK to continue with the query record deletion.
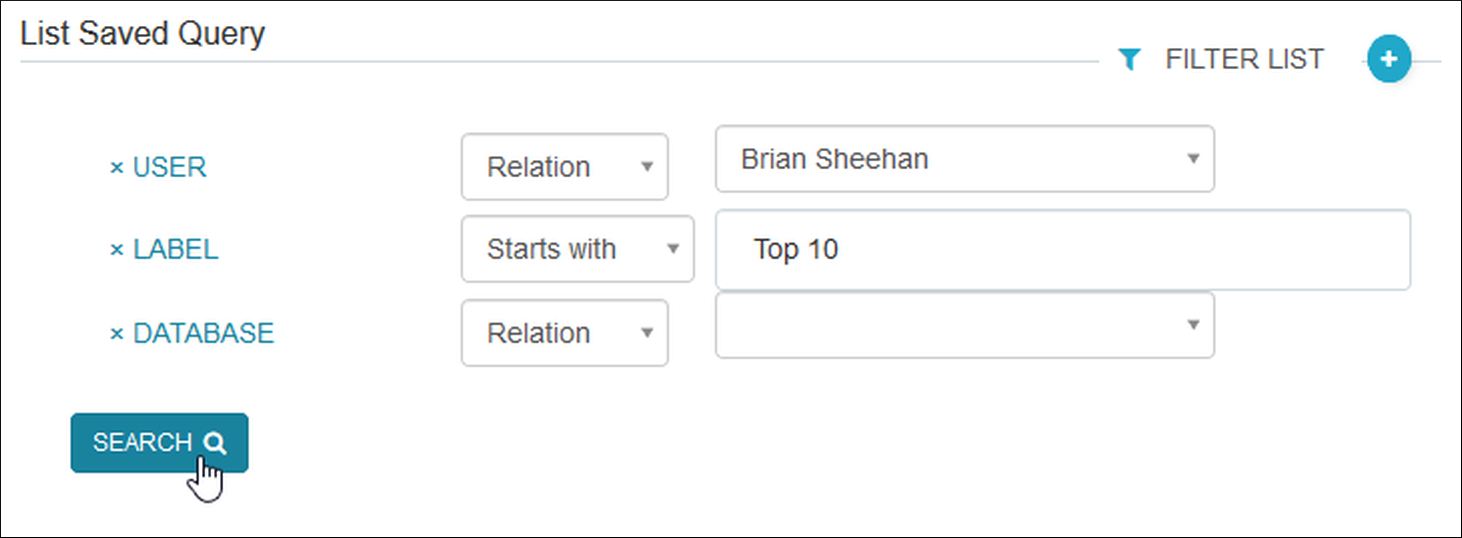
Filtering Saved Queries
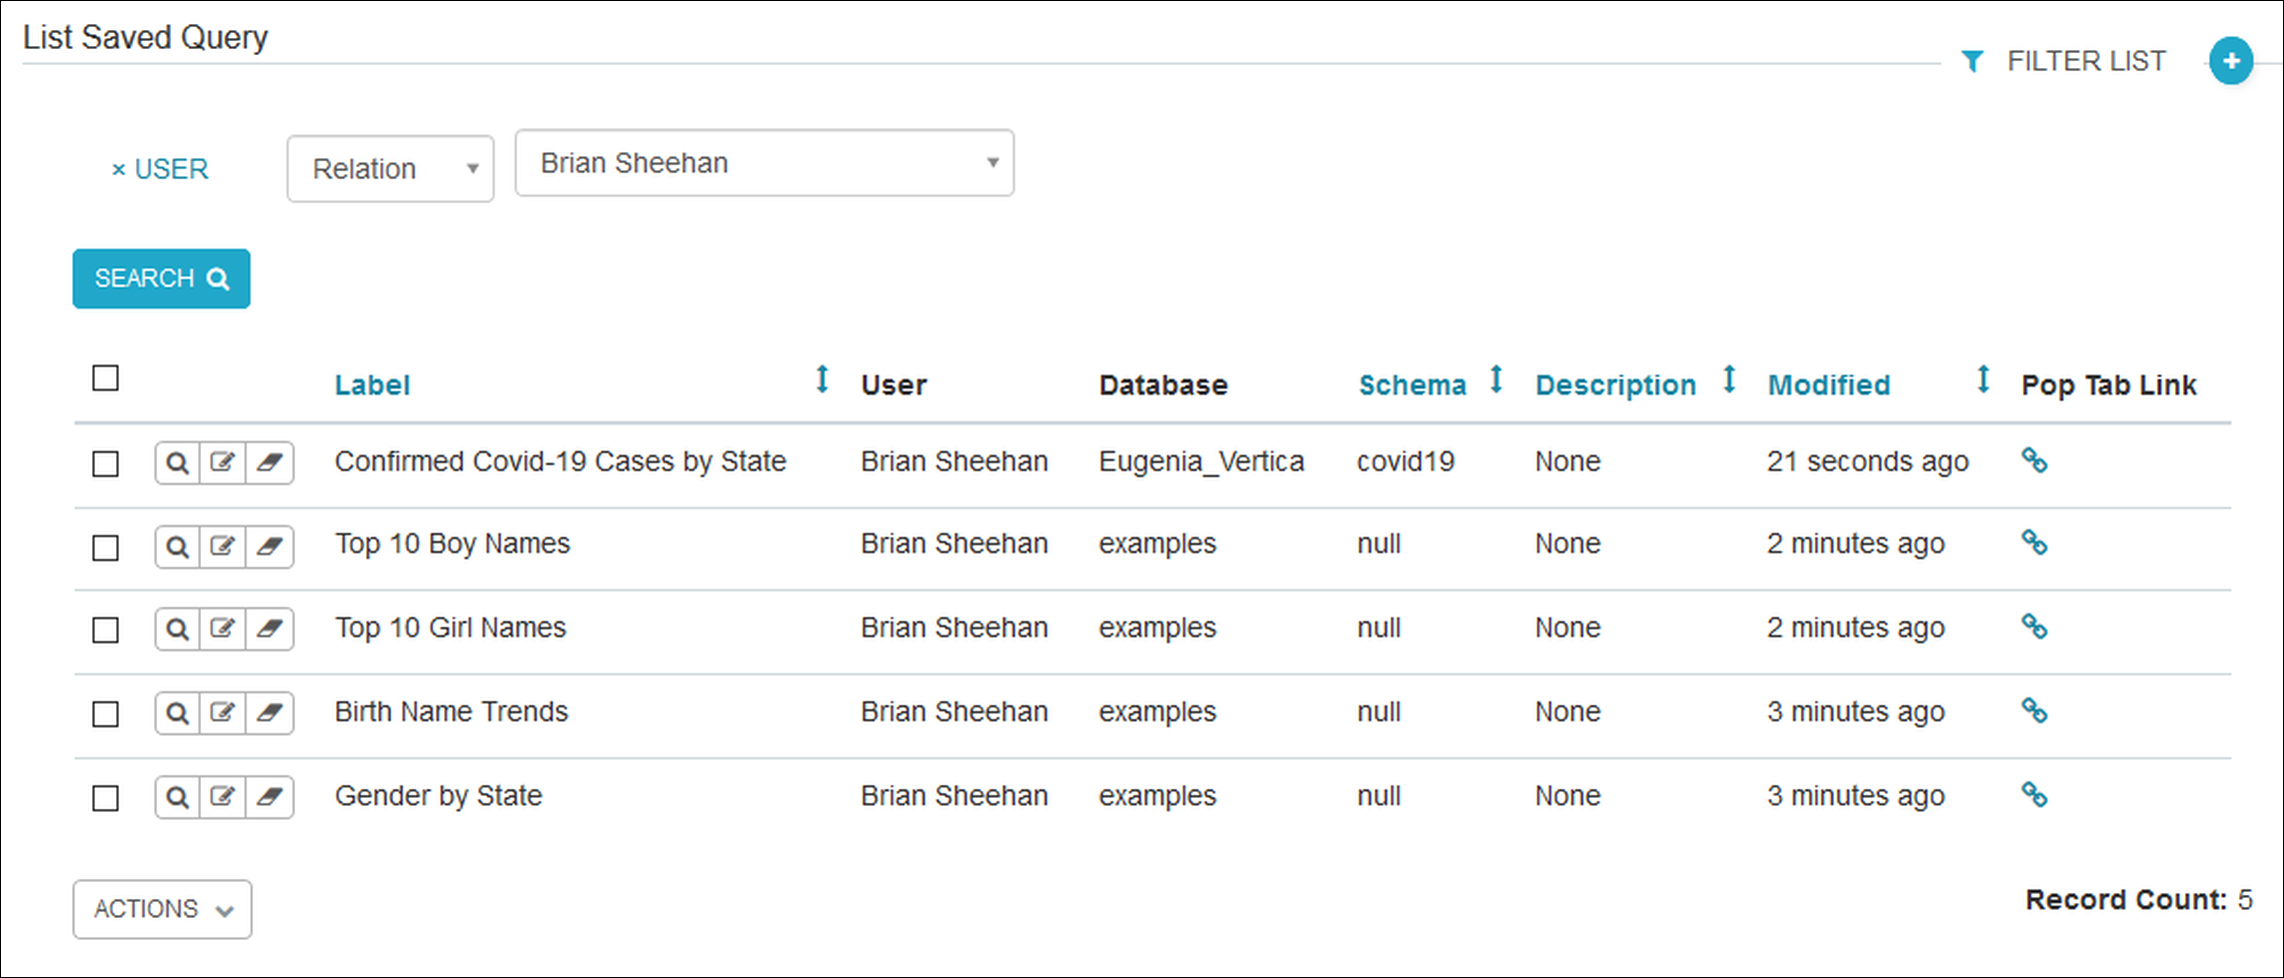
Saved Queries can be filtered using the filter fields, located above the Saved Query table. Additional fields can be added or removed as needed.
To add filter fields, select FILTER LIST and then select a filter field from the drop-down menu. In the graphic below, we added the SCHEMA filter field:
.png)
To remove a filter field, just select the x to the left of the filter field.
Now that you've added your filters, you can filter saved query content by completing fields, as needed, and then selecting SEARCH.
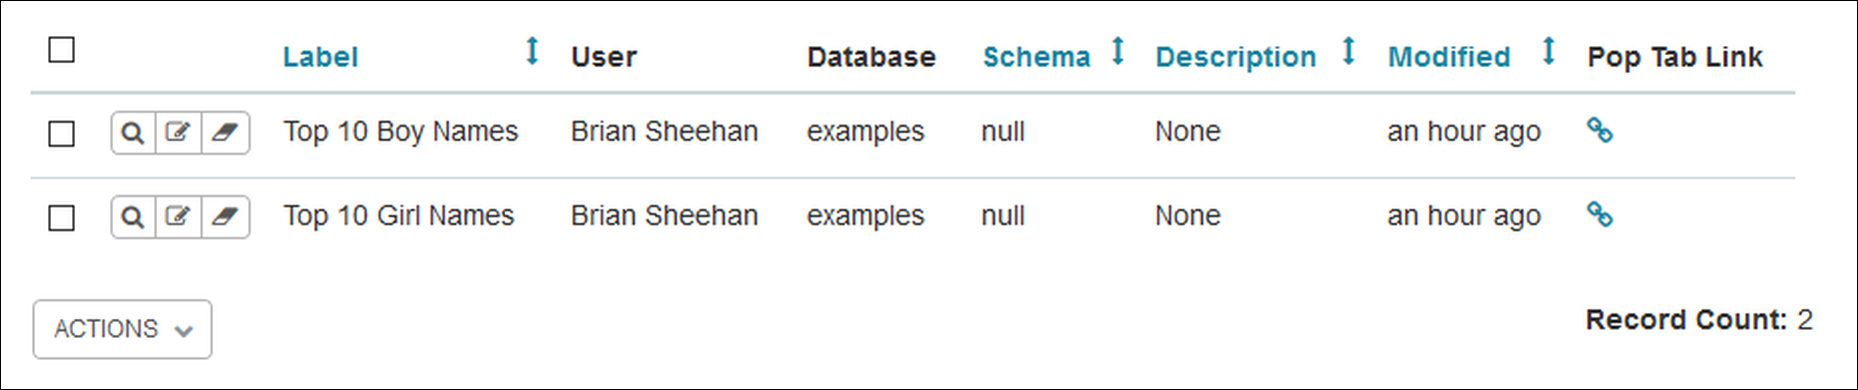
Results will appear in the table below.